REVIEW · NEW YORK CITY
Manhattan Architecture Photography Tour
Book on Viator →Operated by New York City Photo Safari · Bookable on Viator
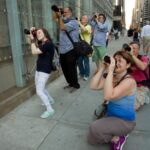
Manhattan buildings practically pose for you. This 3-hour Manhattan Architecture Photography Tour pairs a pro photographer guide with hand-on practice at landmarks like Grand Central Terminal and Times Square.
I love the composition tips that help you eliminate boring space and make the shots look intentional. I also like that instructor Zim (listed as Jim in a couple of reviews) adjusts recommendations to your interest and skill level, staying patient even if you are brand-new.
One drawback: you should expect walking and bring your own digital camera, since it is not included.
In This Review
- Key highlights worth circling
- Why Manhattan Architecture Looks Better With a Pro in Your Ear
- Getting Started at Pershing Square: Where the Shooting Day Begins
- Stop 1: Grand Central Terminal Photos With Included Admission
- Stop 2: Chrysler Building Angles That Make It Feel New
- Stop 3: Times Square—Capturing Lights and Hustle Without Losing the Picture
- Stop 4: New York Public Library Exterior Framing
- Stop 5: Bryant Park and a Built-In Empire State Target
- The Pershing Square Signature Center Bonus Moment
- Tuition That Works for Beginners and Camera Geeks
- Price and What $125 Really Buys You
- Group Size, Walking, and the Real Life Schedule
- Practical Tips to Get More Great Shots
- Should You Book This Manhattan Architecture Photography Tour?
- FAQ
- How long is the Manhattan Architecture Photography Tour?
- What does the tour cost?
- Is a digital camera included?
- Where do I meet the tour?
- How many people are in a group?
- Which stops include admission?
- Is the tour offered in English, and is it weather-dependent?
Key highlights worth circling
- Small group (max 8) so you can actually get answers while you shoot
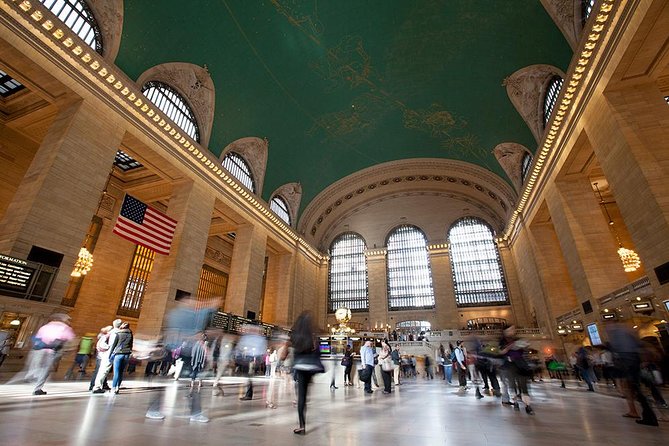
- Grand Central Terminal access with included admission for a big, dramatic interior
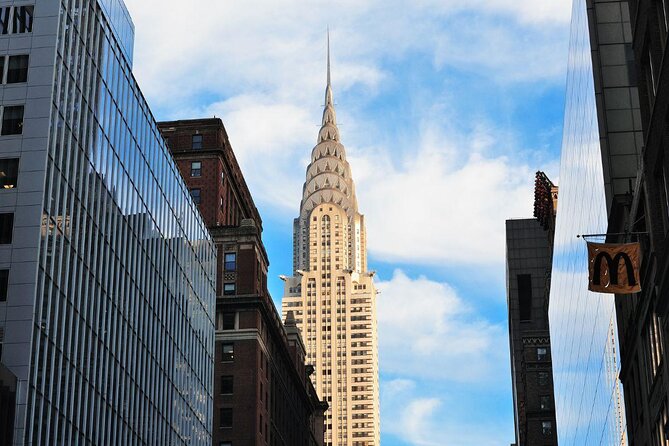
- Chrysler Building angle coaching so it stops being just a postcard view
- Times Square light-and-motion instruction for getting all the drama without losing control
- New York Public Library exterior framing with time built in to set your composition
- Bryant Park to Empire State Building shooting plan from a spot many people skip
Why Manhattan Architecture Looks Better With a Pro in Your Ear
Manhattan architecture is visual chaos in the best way. Tall buildings, sculpted stone, crowds, screens, and reflections all compete for your attention. A tour like this helps you tame that chaos instead of just taking a handful of safe snapshots.
What you get is a workflow: where to stand, what to watch in your frame, and how to approach the light. The pro photographer guide is there to help you use what your camera can do right now, not just admire the skyline.
And because the group is capped at 8 people, it does not feel like a lecture from the back of the pack. You can ask questions, adjust, and re-shoot instead of rushing on to the next stop.
You can also read our reviews of more tours and experiences in New York City.


Getting Started at Pershing Square: Where the Shooting Day Begins
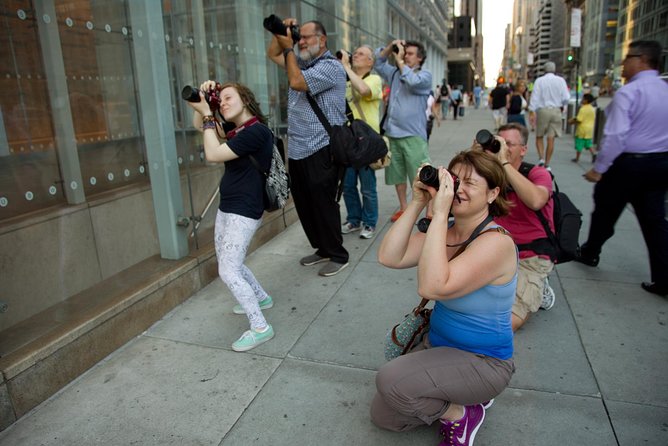
You meet at Pershing Square, at 90 E 42nd St, New York, NY 10017. That location is a smart starting point because you’re already near the theater district energy and not stuck on one single architectural style.
From the start, the tone is practical. The guide’s job is to help you translate what you see into a camera-ready plan: pick a viewpoint, manage distractions, and think through what you want your photo to emphasize.
Before you go, bring:
- A digital camera you’re comfortable with (not provided)
- Extra memory space and a charged battery
- Comfortable walking shoes
Also, if you use a smartphone as your camera, you can still get value from the composition and angle advice. Just keep expectations realistic: architecture details often reward a camera with more control.
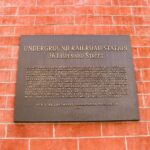
Stop 1: Grand Central Terminal Photos With Included Admission
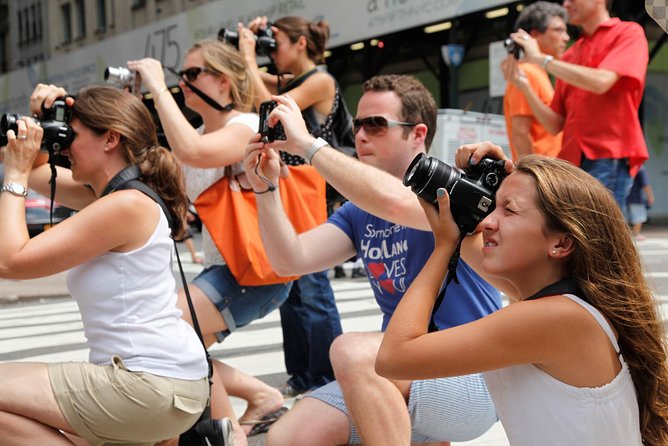
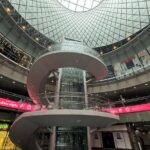
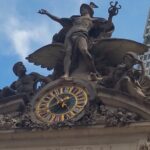
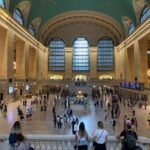
Grand Central Terminal is the kind of place that can swallow your attention. You look up, you look around, you take a picture, and then later you realize you captured the crowd instead of the grandeur.
This is why the included admission matters. It gives you a window to focus on the space, not just the curb view. Your best results come from slowing down enough to frame the main architectural features, then stepping into position for the cleanest lines.
The teaching moment here is simple and useful: learn how to build a frame that feels intentional. That usually means:
- controlling what’s in the foreground
- minimizing clutter that pulls the eye away
- using angles that make the space look taller, wider, or more symmetrical
Even if you are new, this stop can jump-start your camera confidence. One of the most praised parts of the experience is learning what your camera can do and using angles to make something look less boring.
Stop 2: Chrysler Building Angles That Make It Feel New
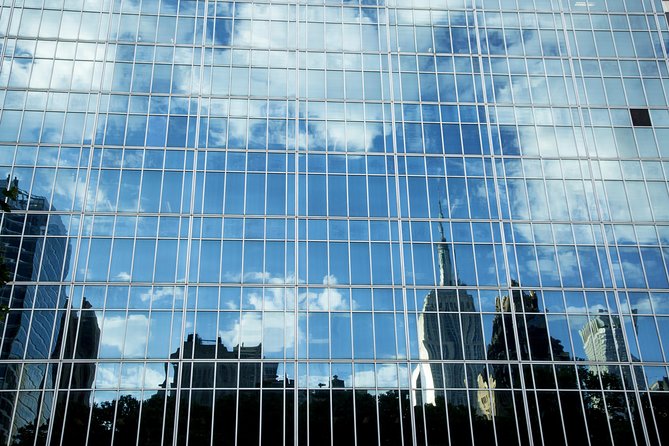
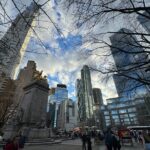
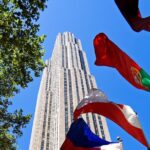
The Chrysler Building is famous, so it is easy to assume you already know what it looks like. But the truth is that most people photograph it from the wrong distance or with an angle that flattens the drama.
This stop is short, so you’ll want to be ready to move. The guide focuses on helping you find angles you might miss if you’re wandering alone. Small position changes can change everything here: roofline shapes, window grids, and reflections can all shift based on where you stand.
Think of this as a practice drill. Your goal is not to copy a single famous shot. Instead, you learn how to approach the building:
- find the vertical lines that lead your eye upward
- decide what part of the building you want to emphasize
- watch how surrounding elements affect your composition
Even if you only get one or two strong frames, this stop pays off later when you see how angle changes can transform a subject.
Stop 3: Times Square—Capturing Lights and Hustle Without Losing the Picture
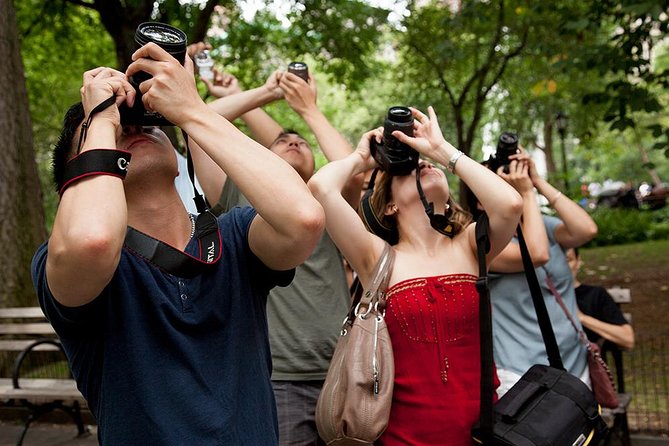
Times Square is loud, bright, and full of motion. That’s the point. But motion also makes it easy to end up with blurred mush or a photo that’s technically lit yet visually messy.
This is where instruction helps the most. You get guidance on how to capture the lights and the hustle, not just the fact that you were there. The guide’s job is to help you turn the chaos into something composed.
Here’s what you can focus on while you shoot:
- choose your subject before you raise your camera
- decide whether you want lights to streak or stay crisp
- watch the background so your frame doesn’t get overwhelmed
The vibe of Times Square can be intimidating if you’re a beginner. One of the standout themes from the reviews is that the instructor is patient and attentive, even for novices. That matters. You’ll shoot better if you’re not worried you’re going to slow everyone down.
If you want a photo that feels like Times Square but still looks clean, this stop is the core lesson.

Stop 4: New York Public Library Exterior Framing
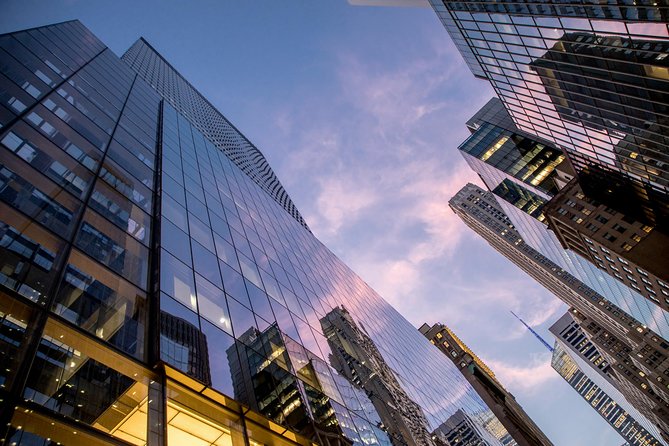
The New York Public Library’s exterior is an architecture photographer’s gift. It’s classic, symmetrical in places, and full of details that reward careful framing. It can also be visually busy if you do not manage the edges of your shot.
This stop includes admission time, which is valuable because it gives you a chance to set up without feeling squeezed. The typical goal here is to capture the building as an icon while keeping your composition sharp—straight lines, stable framing, and a clear focus area.
If you’ve ever taken library photos that look like a postcard but not like a story, this stop helps you fix that. The teaching tends to focus on removing distractions and choosing a viewpoint that makes the facade feel strong and readable.
You also have time built in, which matters. With architecture, rushing is how you end up with near-misses. You want enough minutes to test one framing idea, adjust it, and then commit.
Stop 5: Bryant Park and a Built-In Empire State Target
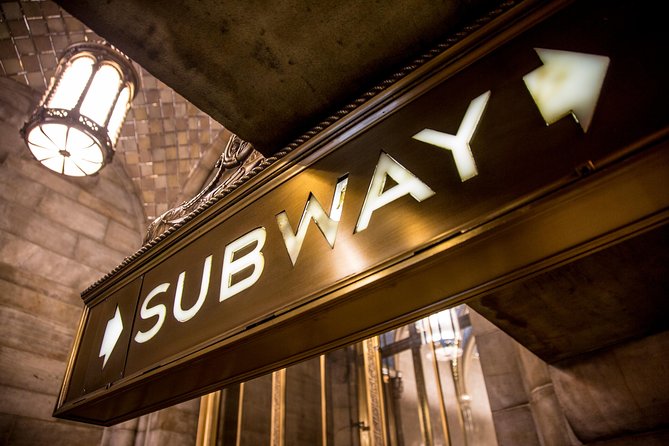
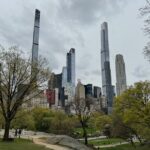
Bryant Park is one of those Manhattan areas where the setting feels designed for photography. You can frame the Empire State Building while keeping the scene grounded and human-scaled.
This stop is aimed at helping you get brilliant shots of the Empire State Building. That means the guide will steer you toward a position that balances the subject with the park environment, so your photo doesn’t look like an isolated skyline sticker.
The practical advantage: you’re not just chasing a view. You’re learning how to position your frame to include what supports the building—lines, edges, and context—without letting the scene get cluttered.
If you like architectural photos that feel lived-in (not just towering objects), Bryant Park is where this tour clicks.
Also, you’ll likely notice how much faster you shoot by this point. The earlier stops train your eye, so you’re not starting from scratch at the final big photo opportunity.
The Pershing Square Signature Center Bonus Moment
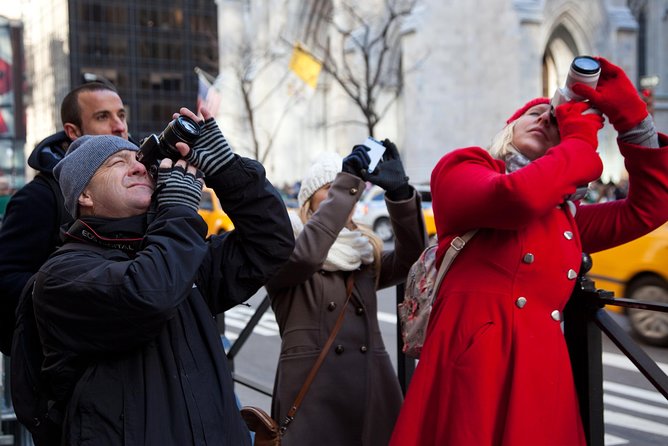
One extra benefit of starting at Pershing Square is that you’re right by the Pershing Square Signature Center, a complex of three theaters just off Broadway. Even if you treat this as a quick pause rather than a full photo mission, it adds flavor to the walk.
It gives the day a mix of architecture and city life, not just stone giants. That matters in New York, where the best images often include a sense of place beyond a single landmark.
The guide also tends to share local context during the walk—small facts about New York that you probably would not pick up on your own. That kind of detail helps your photos feel sharper, because you’re learning what to notice as you go.
Tuition That Works for Beginners and Camera Geeks
The best part of this tour is that instruction is not locked to one style of photography. You’ll get photo tuition from a professional photographer, and it’s geared to your skill level.
In reviews, the word that keeps showing up is support. Zim/Jim is described as fun, dynamic, and patient. People call out how the instructor explains camera abilities they were not using and how to think through angles instead of shooting on autopilot.
You can expect:
- feedback while you shoot (not just after)
- tips for how to eliminate clutter and dead space
- suggestions based on what you want to capture, whether that’s interiors, facades, or city energy
This is also why the small group size matters. In a group that’s larger, you would often wait your turn. Here, you can get enough attention to make changes in real time.
If you love photography but have felt stuck with your current camera habits, this tour gives you a way to break the pattern fast.
Price and What $125 Really Buys You
At $125 per person for about 3 hours, you’re paying for more than access to landmarks. You’re paying for a pro guide to help you produce better photos, not just visit famous sites.
Here’s the practical value math:
- You get tuition from a photographer, which is the main differentiator versus a self-guided walk.
- You get structured time at key stops, including included admission at major architecture targets like Grand Central Terminal and the New York Public Library.
- You’re capped at 8 people, so the instruction time is not diluted.
If you’re traveling with others who are not into photography, this tour is still worth it because the guide keeps the focus on what you need for your images. If you’re traveling alone, you also get built-in direction for where to stand and when to shoot—reducing the guesswork that slows you down.
It’s not a cheap splurge, but it’s also not a premium-price workshop. For most people, that sweet spot is the deal.
Group Size, Walking, and the Real Life Schedule
This experience runs about 3 hours. That’s enough time for multiple locations, but it also means you should be prepared to walk and reposition several times.
You should have moderate physical fitness. The tour’s structure assumes you can handle active city walking and quick stops for setting up your shot.
One more reality check: you’ll want to bring the gear you plan to use. Since digital cameras are not included, plan for your own battery, storage, and settings comfort level.
Also, this activity is offered in English, and it provides a mobile ticket. That reduces friction at the start, especially if you’re juggling subway connections.
Finally, since it depends on good weather, you should keep flexibility in your day. The good news: architecture and city-light photography both become easier when conditions are right.
Practical Tips to Get More Great Shots
If you do one thing to prepare, do this: choose your shooting goal before you arrive. Are you chasing symmetrical architecture? Light trails and city motion? Clean exteriors? Once you pick a direction, the guide’s advice can land faster.
I also suggest:
- Bring a small lens kit if you have one, but do not overthink it
- Charge fully and check your memory space before meeting
- Ask questions early. The sooner you clarify what you want, the sooner the guide can tailor tips to you
The guiding theme from the reviews is that the instructor helps people learn what their cameras can do. The better you communicate your current comfort level, the more useful that tuition will be.
Should You Book This Manhattan Architecture Photography Tour?
Book it if you want landmark photos that look more intentional than typical tourist shots. The combination of pro photographer guidance, multiple high-impact stops, and a small group makes it a strong value for $125.
Skip it (or at least consider a different format) if you’re only looking for casual sightseeing with zero interest in learning camera basics or adjusting composition. Since the tour is focused on shooting technique, it’s not really built as a passive walk.
If you’re a beginner, this is especially promising. The instructor’s patience and focus on real camera capabilities can help you move from unsure to confident quickly.
One more booking reason: this tour tends to sell ahead, with an average booking window of about 116 days. If your trip dates are fixed, don’t wait until the last minute.
FAQ
How long is the Manhattan Architecture Photography Tour?
The tour lasts about 3 hours.
What does the tour cost?
The price is $125.00 per person.
Is a digital camera included?
No. A digital camera is not included.
Where do I meet the tour?
The meeting point is Pershing Square, 90 E 42nd St, New York, NY 10017, USA.
How many people are in a group?
The tour has a maximum of 8 travelers.
Which stops include admission?
Grand Central Terminal and the New York Public Library are listed as having admission included.
Is the tour offered in English, and is it weather-dependent?
Yes, it is offered in English. It requires good weather, and if it is canceled for poor weather, you’ll be offered a different date or a full refund.